How to Create an Announcement - For Free
Creating an announcement is quick, easy, fun and it's free. It allows you to make your mark in history such as adding a Birth, Marriage or Death, or promoting a Reunion , Talks and much more. The wonderful aspect of the announcement is that you can also share the information you create with others or just allow family and friends to see or keep it private ...it's up to you.
The only two pre-requisite to creating an announcement are that you must be a registered member (which is free) and you must have set up a Profile (which is also free).
Step 1 - Starting an Announcement
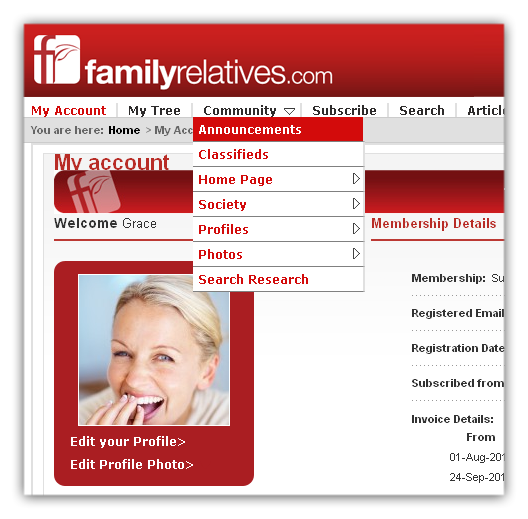
Go to My Account (found on the top menu bar) and select Community and then Announcements as shown.
Step 2 - Adding an Announcement
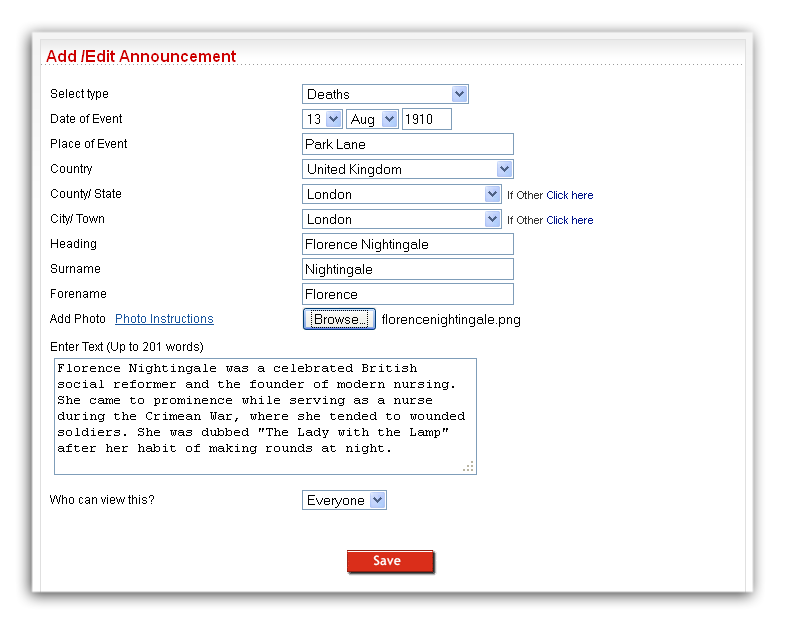
On the right hand side you will see "Add Announcement" and the following page appears. Complete the following page - entering as much or as little information as you wish. Also remember that you can add a photograph (as long as it is smaller than 250 Kb)
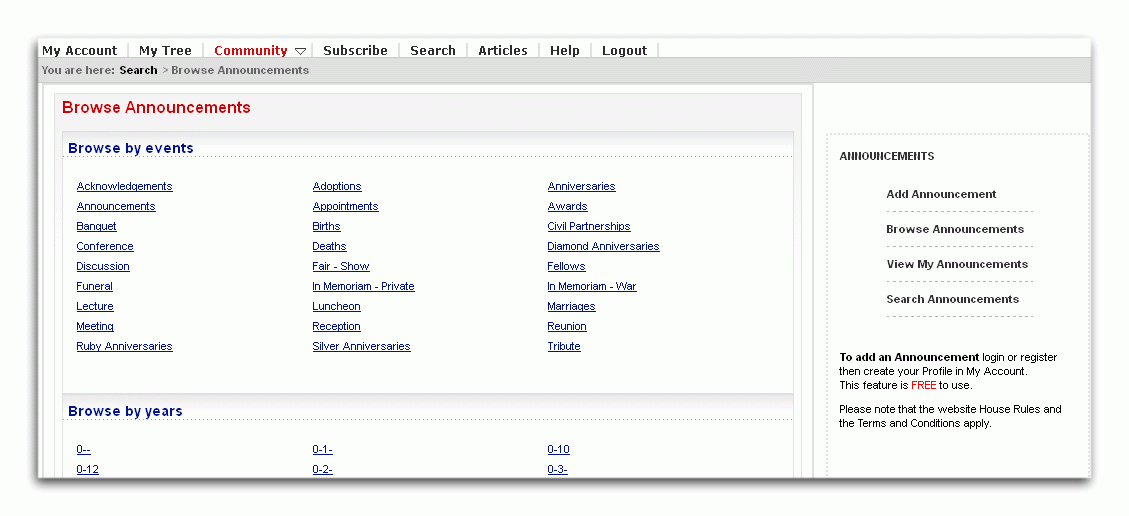
and the following page appears. Complete the following page - entering as much or as little information as you wish and click "Save". Also remember that you can add a photograph (as long as it is smaller than 250 Kb)
Step 3 - Viewing an Announcement
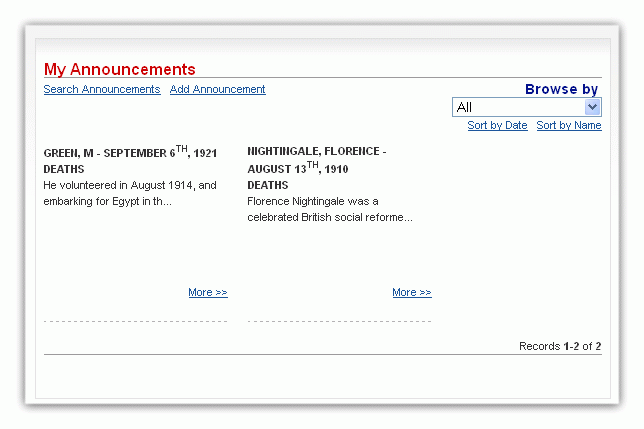
Once you have saved the announcement you will see on the right hand side - "View My Announcements" click on it and the following page appears.
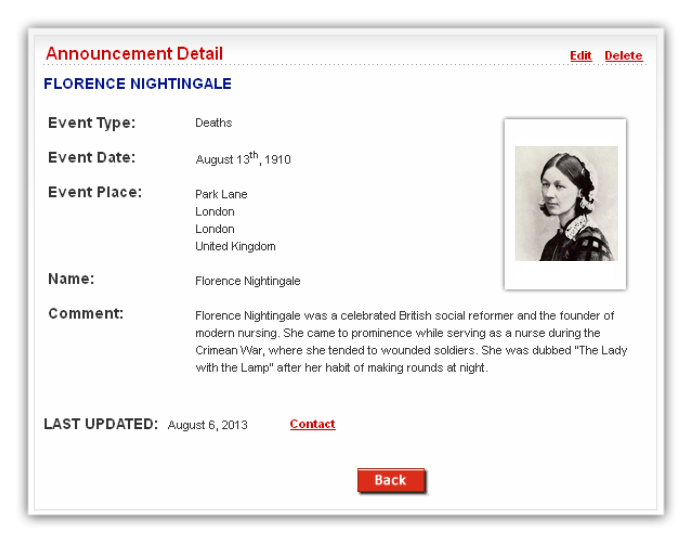
Step 4 - An example of an Announcement is shown below
Click on the announcement you wish to view and you can view, edit and delete from here.
